How to Build a Deck – Part #2 (Tools of the Trade)
What Tools Do I Need for Deck Construction?
The simple way to create a tool list for almost any DIY project is to start by thinking through the project from the ground up and listing tools needed in each phase. This list is divided into two categories, one for the minimum required tool to get the job done and one for the best tool for the job.
PRO TIPS:
When purchasing hand tools, heavier is usually better. They last longer and most tools are designed to move things, such as dirt, nails, cutting through boards, so the weight makes it more efficient.
On power tools, look for strength more than features, such as lasers, etc. The most important measurement of power is amperage for corded tools and torque in cordless tools. RPMs (revolutions per minute) sound important, but a faster tool is not necessarily a better tool.
Flashy tools, designed to look cool, are almost always designed for homeowners. Professional tools are typically designed for comfort and ease of use.
Deck layout and marking
The tools for this are simple but necessary.
- Measuring tape: at least as long as your deck’s longest dimension, if possible.
- Wooden stakes: at least one for every corner on the deck. They should be pointed and stout enough to survive being pounded in.
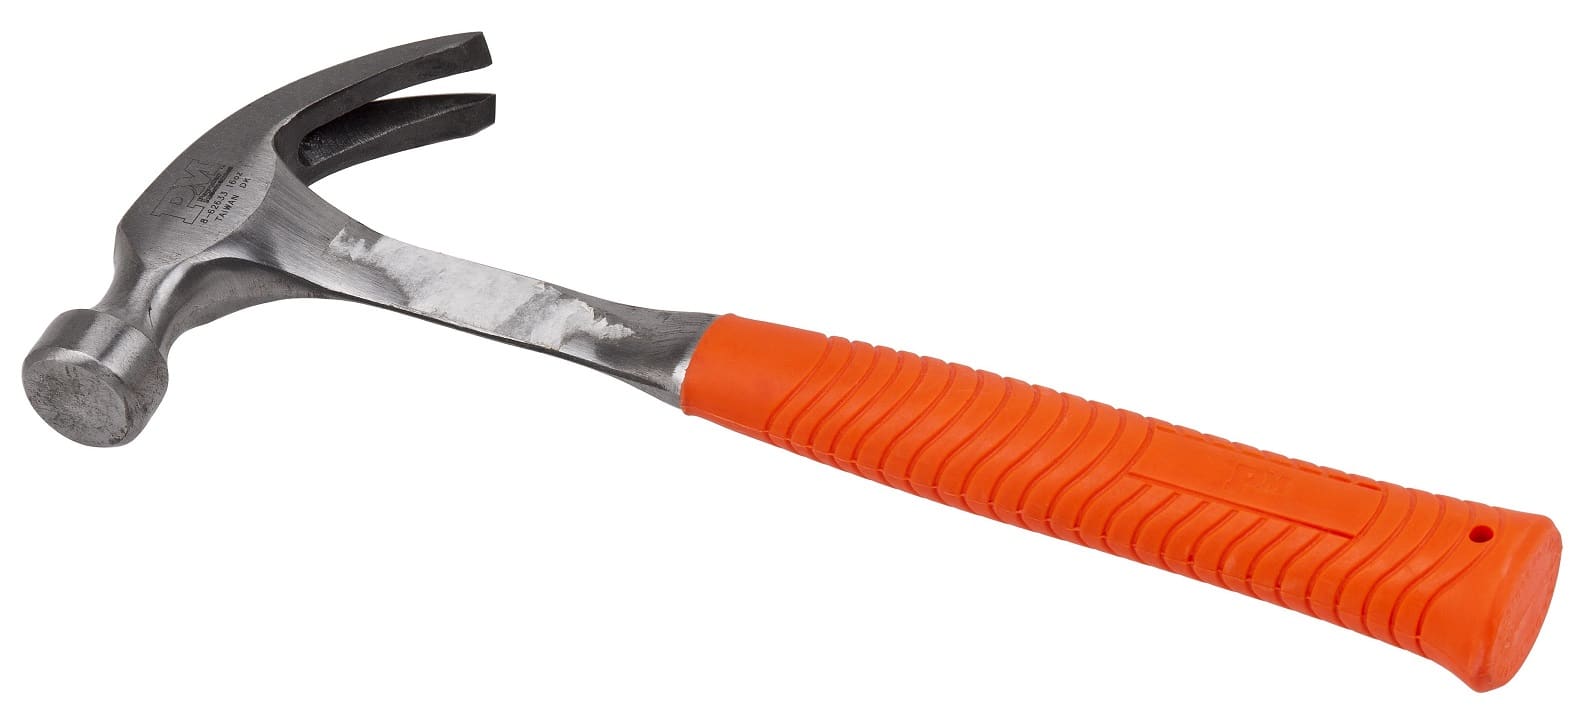
- Hammer: for pounding corner stakes. A larger hammer, such as a 3 pound engineer’s hammer, works best.
- Mason’s line or other string: for tying between stakes. This makes post spacing and marking simpler.
- String level: for setting the mason’s line level at the correct height.
Tool upgrades
- Multiple string levels: they are inexpensive and having more than one can make the job faster.
- Laser level: used to establish the deck height and level.
- A measuring wheel or commercial grade reel tape measure: simplifies the measuring process.
Footing Excavation and Installation
There are a lot of tools you can use for footing excavation. If you are working on a budget, you will likely want to use hand tools, or rent rather than buying.
Here are the minimum required tools for footing installation:
- Handheld posthole diggers: The heavier ones cut deeper and make the work easier.
- Sharpshooter, or other small spade: for removing rubble and widening holes when needed. The heavier steel will cut into the turf faster. Choose a stout, comfortable handle.
- Bucket for soil removal: You will likely have leftover soil. A 5 gallon bucket works well for putting it where you need it.
- Bucket for concrete mixing: This can be the same 5 gallon bucket, as long as you clean it.
Tool upgrades
- Power auger: can be rented, or purchased from any tool supply. An auger will cut the digging time for each footing to less than half. Especially helpful for large decks, or especially large or deep footings.
- Wheelbarrow: for moving soil and mixing concrete.
- Concrete mixer: keeps cement moving for large jobs so you can mix larger batches.
Carpentry tools
The tools in this section will be used throughout the rest of the construction.
Measuring and marking tools minimum
- 25 foot tape measure: for measuring all lumber to be cut and misc. measuring tasks.
- Framing levels: for levelling frame members to each other.
- Quick square, or rafter square: for marking square cuts on board ends.
- Framing square: for checking corners and ensuring square joints.
- Pencil, chalk or crayon: for marking cuts.
Upgrades
- Laser level
- Board clamps: for holding joints in place while fastening. There are several different styles, use what works well for you. These are very useful if you’re working solo.
- Chalk line: for marking cuts over longer distances.
Cutting Tools, minimum
- Good, sharp hand saw. A hand saw is only really usable for small projects, unless no power is available, or you are very determined.
- Box blade or utility knife: for cutting mason’s twine and other misc.

Upgrades
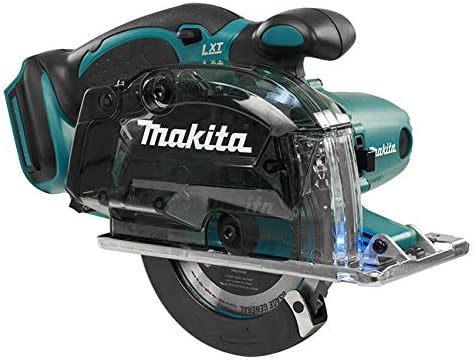
- Circular saw: often called a “skill” saw after a popular brand. This is the most versatile of all power saws and will do all of the cutting you need, with a little practice.
- Miter saw, or chop saw: makes cutting boards to length fast and easy.
- Jig saw: for cutting notches, or making other shaping cuts.
- Reciprocating saw: for making cuts in hard to reach places.
Drills and fastening tools
- Standard cordless or corded drill: For drilling holes in framing members for bolts, etc. If you are using a cordless drill, you will need additional batteries. *Caution: some lesser models may not survive heavy-duty use.
- Framing hammer: a good 20 oz. claw hammer with a smooth face is best.
- Nail removal bar: a medium-sized one will work well for most things. Even if you are not using nails, they can be used for prying other things into position.
- Wrench: a good adjustable wrench works well for tightening bolts in posts.
Upgrades
- Professional grade cordless drill/ driver: The batteries will last longer and a good cordless drill will handle all of your drilling and driving needs. Get heavy-duty bits, too.
- Framing nailer: can be used for some framing tasks, or for attaching decking, building rails, etc.
- Roofing nailer: works well for attaching decking if you want speed over quality (screws are best)
- Pin nailer: will come in handy for trim on railings, deck edges, benches, etc.
- Pneumatic stapler: for attaching lattice and other lightweight elements.
- Air compressor: for with nailers. You will also need a long, flexible air hose. The more expensive, softer hoses are easier to work with.
- Socket wrench and sockets: for driving lag bolts and tightening nuts and bolts.
- Impact driver: for driving bolts, and other driving tasks
Specialty Tools
- Deck spacer: for properly spacing deck boards.
- Nail bags or tool belt: saves time and energy searching for tools and going for more fasteners.
- Pilot bit with countersink: For predrilling screw holes and setting heads flush with the deck.
As you can see from this list, purchasing tools on a budget is possible. Decide how often you will use a tool after your deck project. Is the investment warranted?


